Motorcycle belt tension gauge tool belt replacement adjustment wheel service universal also compatible for Harley Davidson 10-lb belt drive easy to read.
- Details
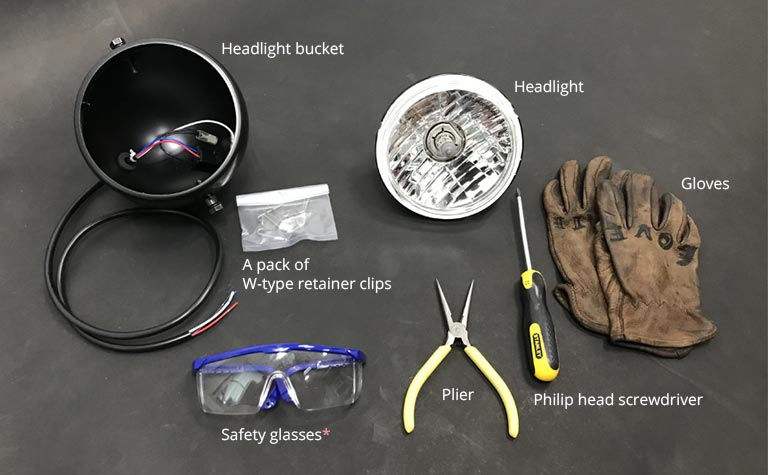
What's needed:
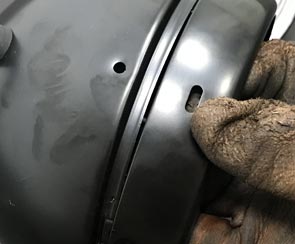
Headlight, headlight bucket, a pack of w-type retainer clips, plier, Philip head screwdriver, safety glasses*, gloves.
*Warning: Always wear safety glasses and gloves. These high tension clips can pop out with high-speed and strength during the installation process.
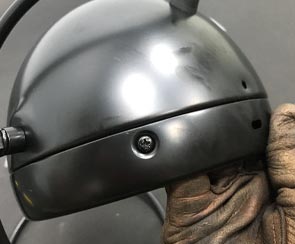
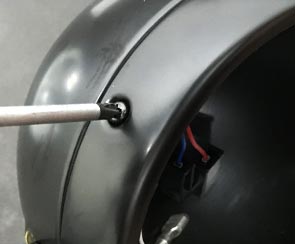
The installation
1. The housing comes assembled, so the first step is taking it apart. Remove two bolts on the ring, then take the ring off from the bucket.
- Details
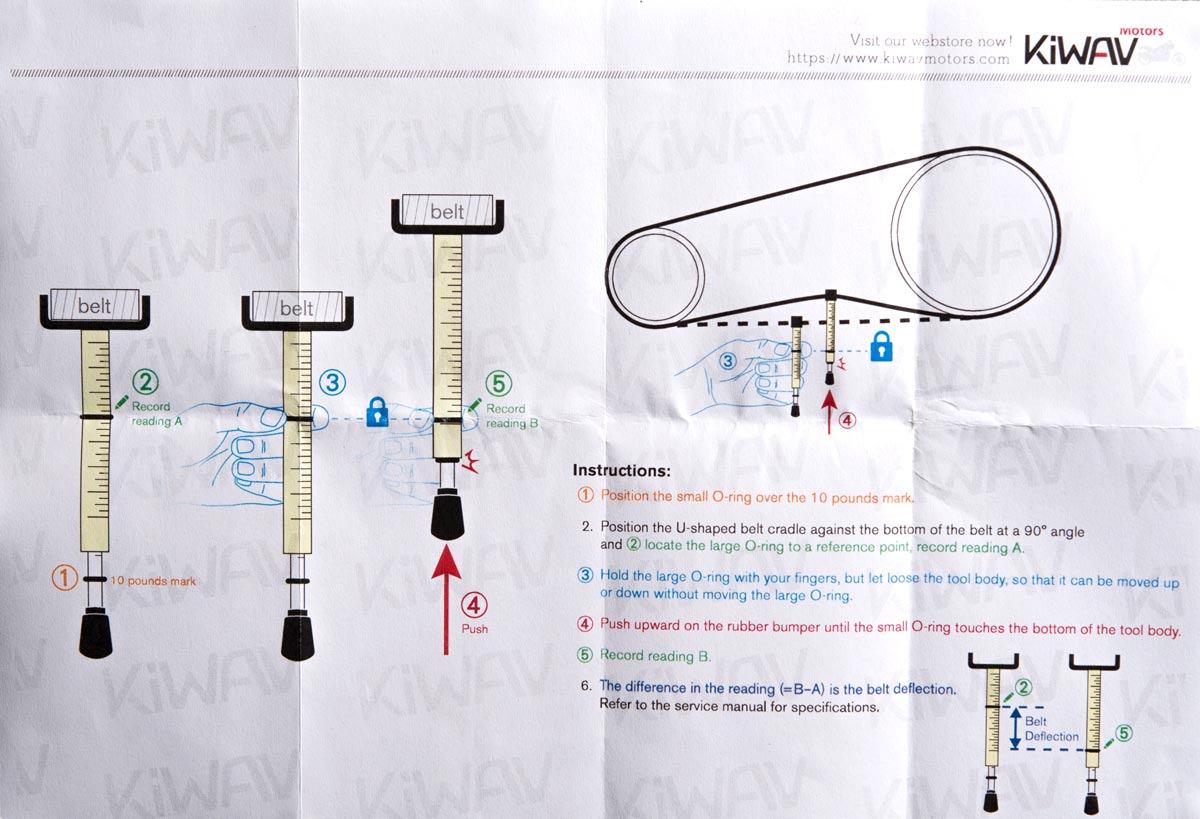
Why does belt tension matter?
- Too little tension results in slippage, excess heat squeak noise, and premature the belt & pulley wear
- Too much tension results in excessive stress on belts, bearings, and shafts, leading to early life failure.
It’s necessary to check belt tension after 500 miles with a new belt and then every 5,000 miles thereafter.
- Details

Best thing since the drill press. It's a MUST HAVE along with your new handlebar!
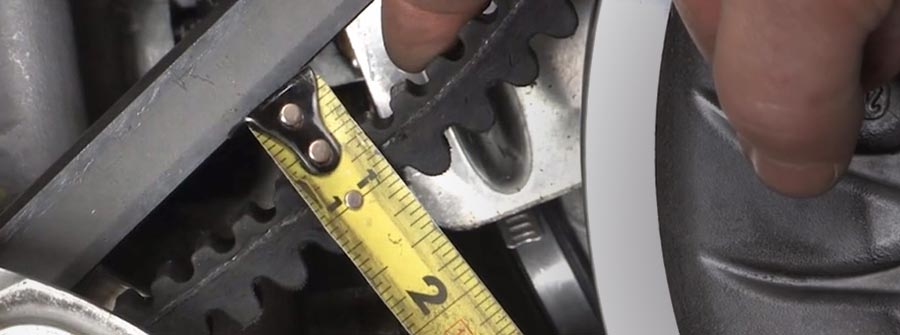
To replace a stock handlebar with a new one, you will need to drill new holes into the new handlebar.
There are always holes into stock bars to keep the controls from twisting. Control assemblies have tabs that fit in the holes. It’s very difficult to make a hole through a rounded surface, the drill bit or the handlebar itself will wander away easily. You can try to make a punch mark first so the drill bit will not get so far away. But the handlebar will roll away from you still, it will be frustrating if you try to hold the handlebar in place.
You can use a V-block or a bench vise to help you finish this job. Or you can try KiWAV handlebar drill tool.
- Details
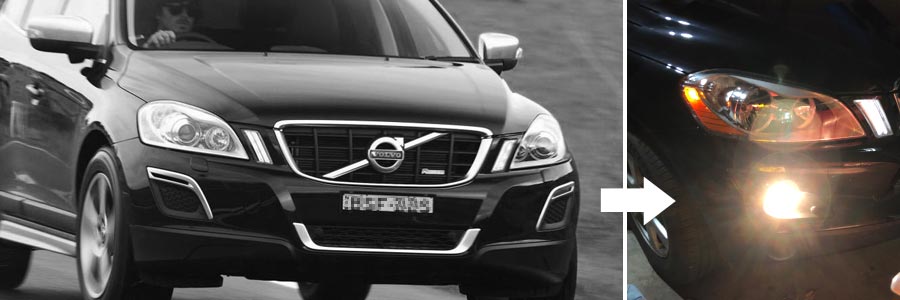
Volvo has taken out the front fog lights of XC60 since its R Design from 2011.
Despite many good reasons Volvo took out the front fog lights, many owners of 2011~2017 XC60 R Design are still desperate to put the front fog lights back on. Unfortunately, there is no easy way to do so, Volvo has done a modification on the steering component EHPAS (electro-hydraulic power assisted steering) making it impossible to retrofit front fog light on the right side (driver’s side in Australia, passenger’s side for other left hand drive countries).
Original design has no option for fog light at the right side.
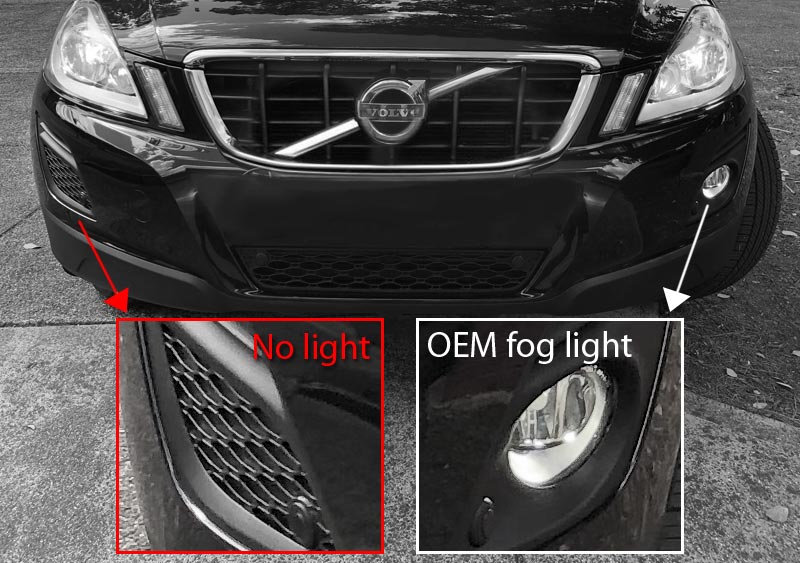
The left side(seeing from sitting inside the car) of the photo is factory fog light. Fitted with genuine OEM fog light module kit.
It is not possible to fit fog light on the right side because of the steering pump, which is mounted behind the plastic fog light covers.
- Details
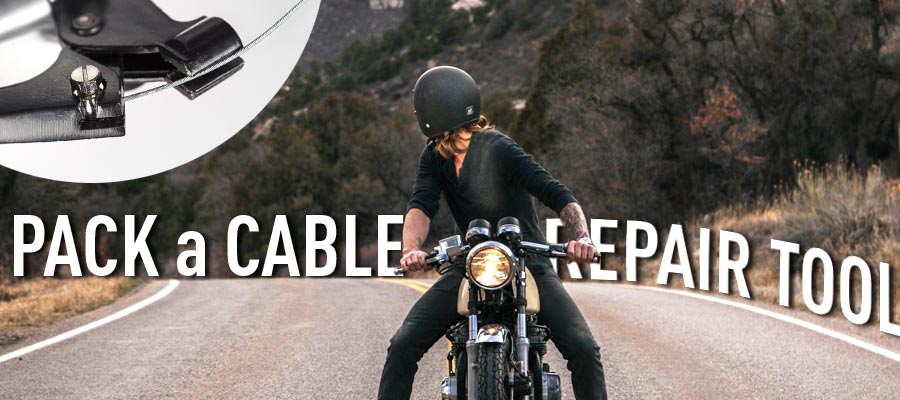
Having a cable repair tool is a requirement if you are traveling to remote areas.
Before you take off on a motorcycle road trip, you need to plan for any hurdles you may encounter. Any tiny problems can ruin the whole trip. Wrench, small knife, plier, screwdriver, tire tool, ... all good! But what would happen if all of a sudden you lose your brake because of an unexpected broken clutch cable in the middle of nowhere? you’ll think “why didn’t I bring a spare clutch cable?”
So, pack a KiWAV emergency cable repair kit just in case.
How to repair your snapped clutch cable on a trip?
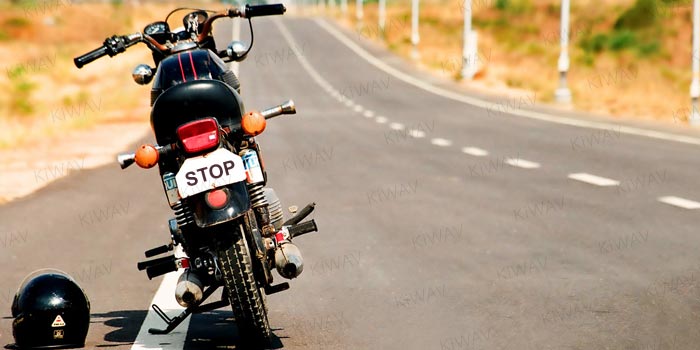
1. First, you need to get your motorcycle away from the traffic and stop it into a safe and flat area to change the broken cable.
- Details

You'll have to get down to some semi serious electrical troubleshooting. Prepare yourself, because this can get a little frustrating. Tracking down a loose wire or a ground that isn't grounding can be a pain in the neck. But fixing faulty wire grounds is inexpensive and just requires a bit of patience, so let's get to it.
- Details
One cruicial tip you don’t wanna miss to make your LED mirrors live longer.
Example: KiWAV Lucifer Dual-LED Mirrors for Motorcycles
Install the mirror onto your motorcycle before taping the wire.
This is what the electrical wiring looks like inside the mirror.
It’s not tangled, and some buffer has been left just in case.

- Details
Page 1 of 3