


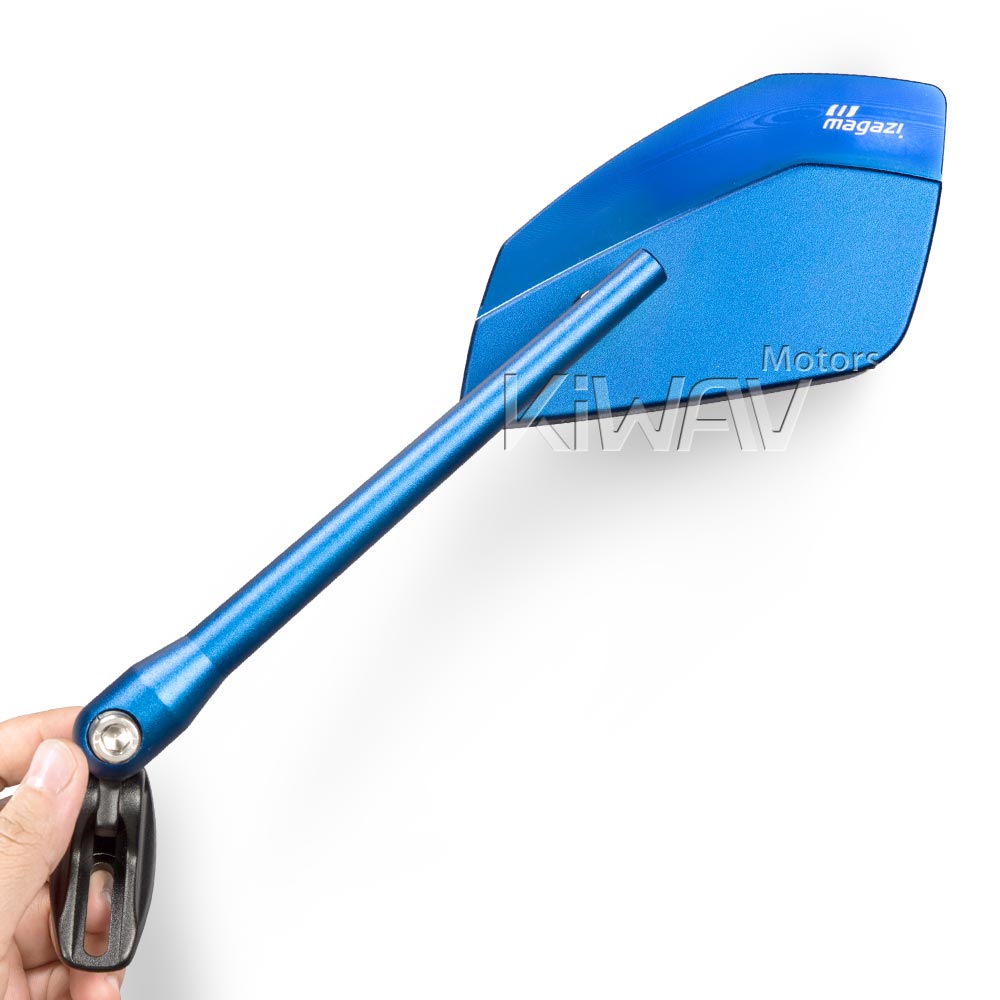
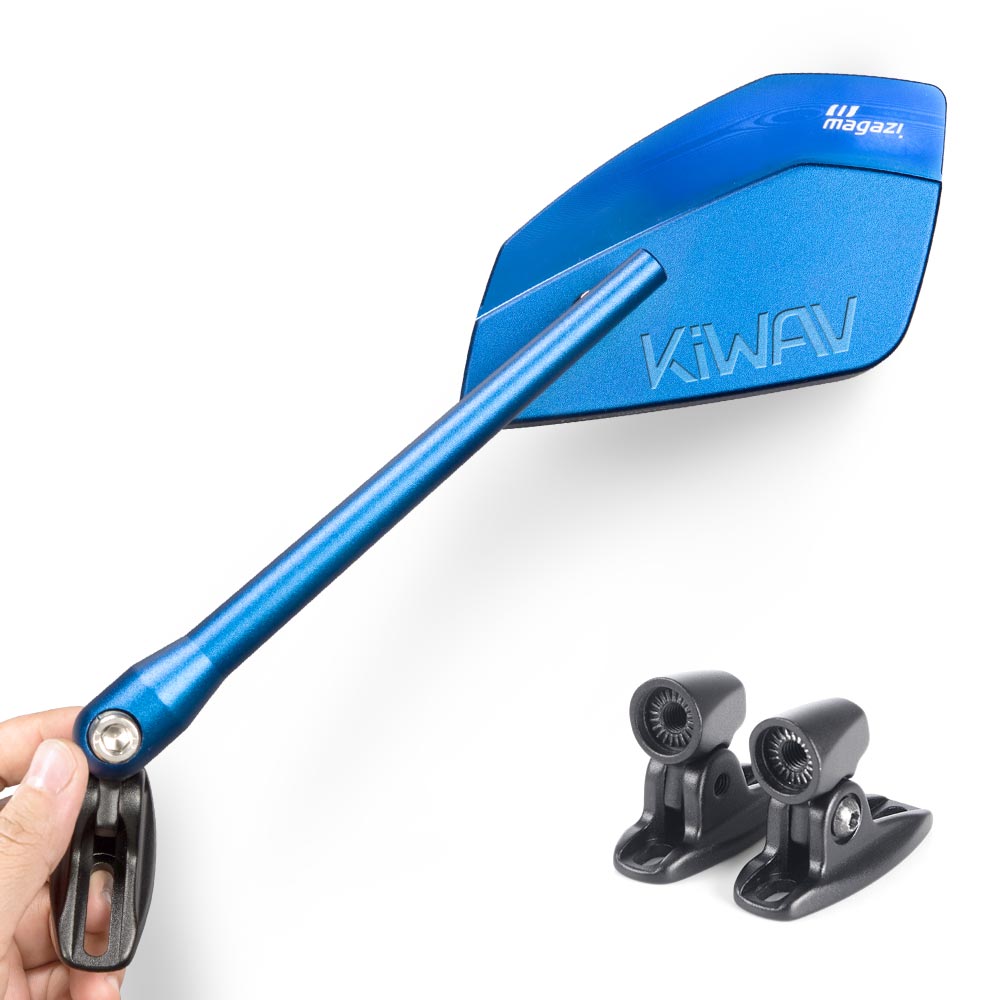
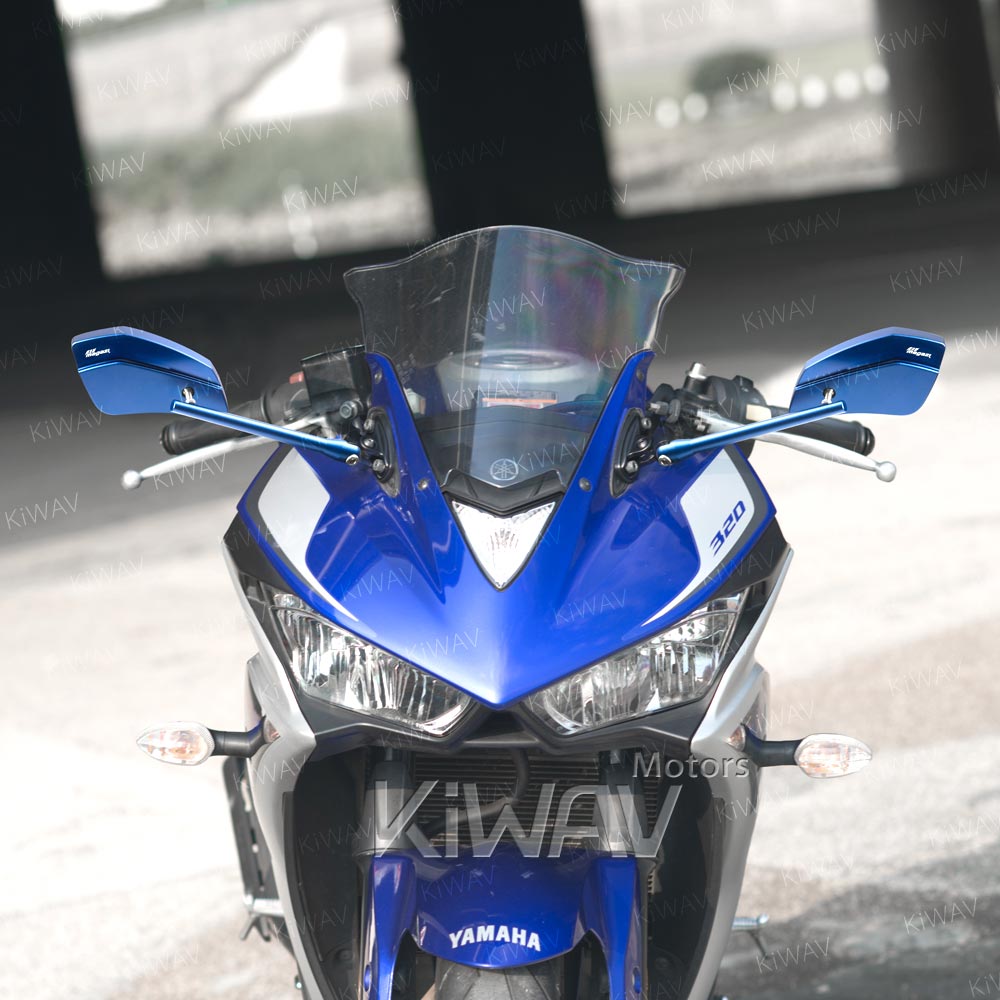


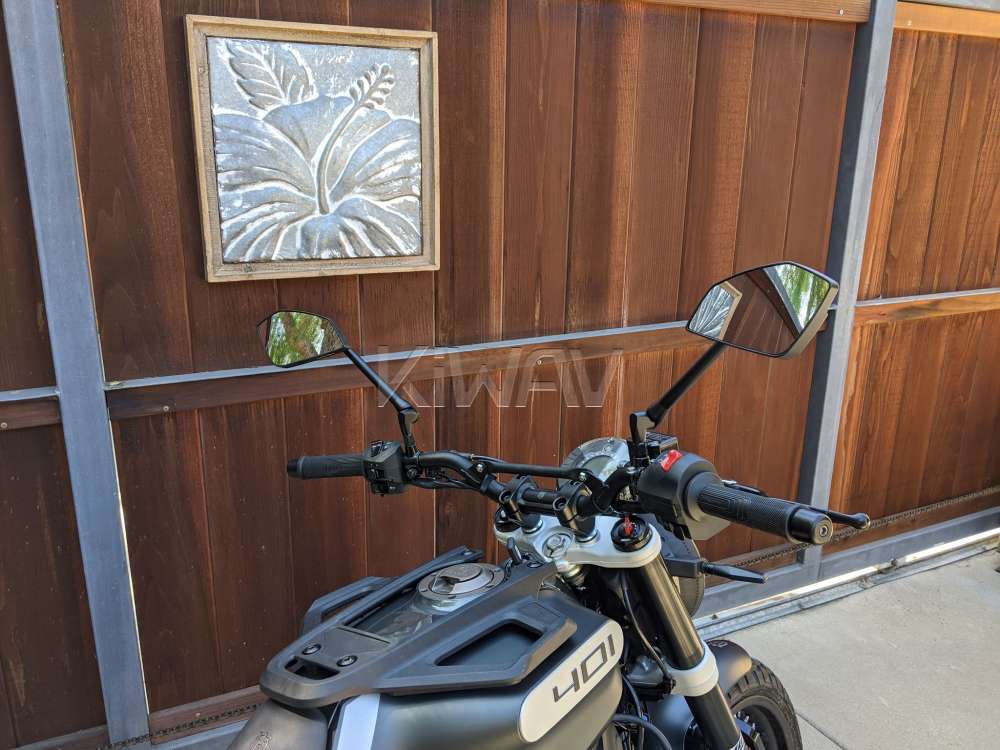
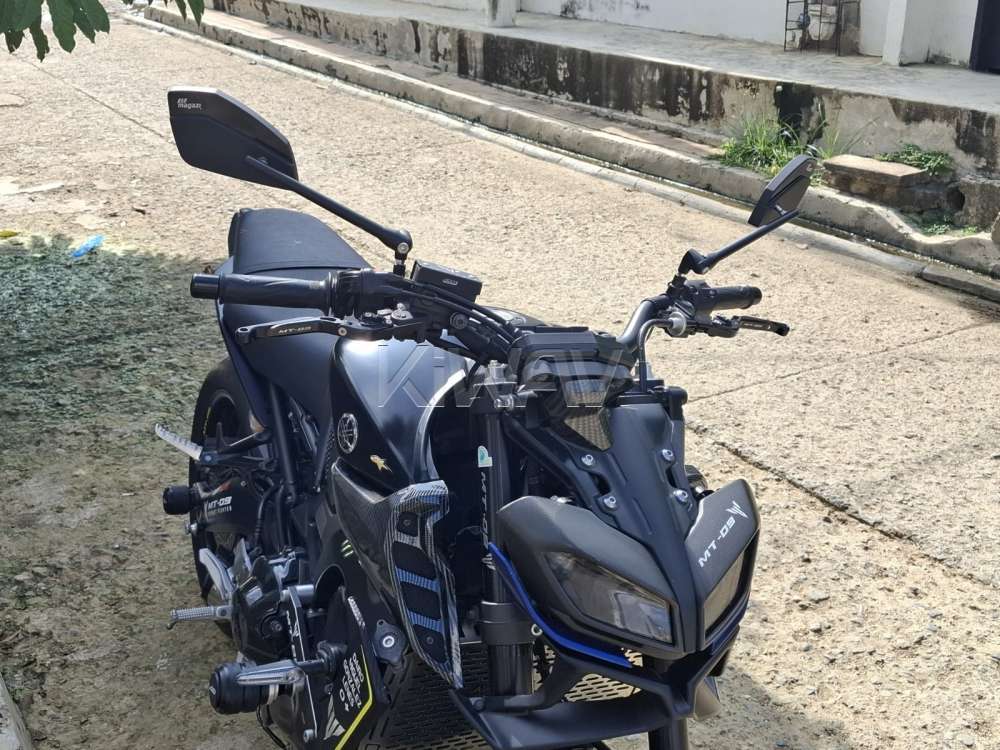
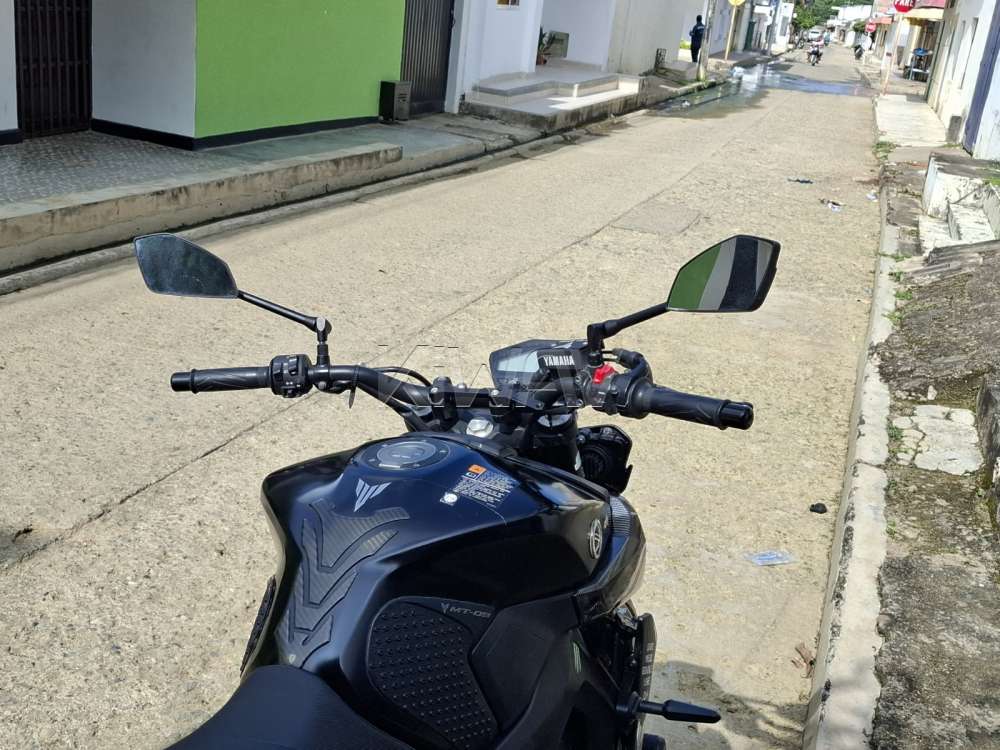
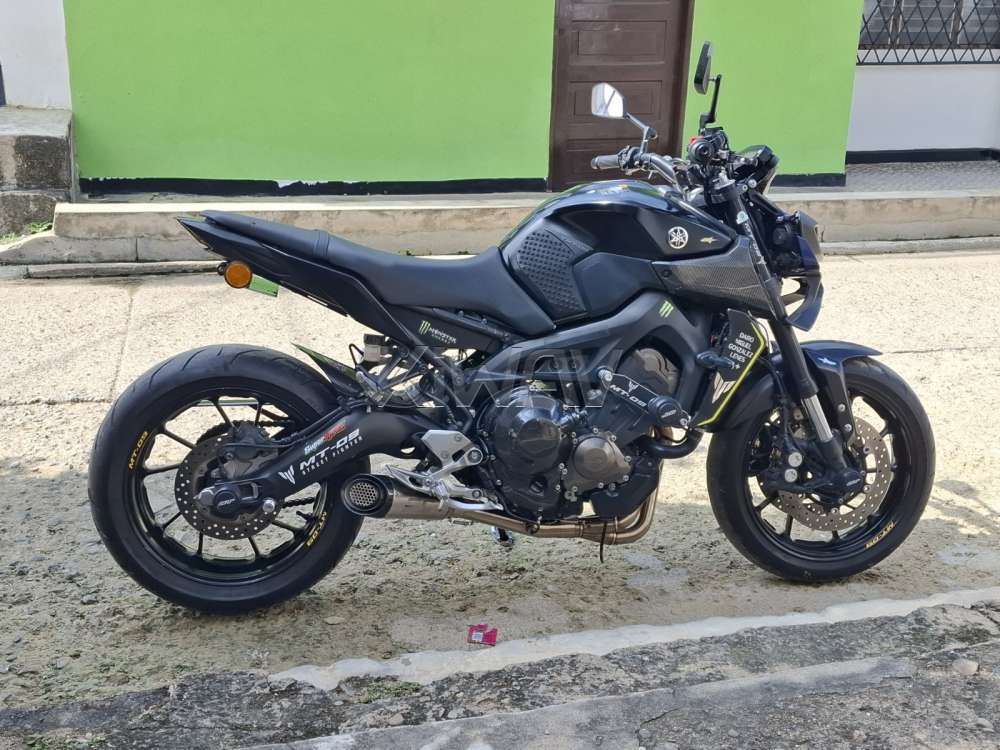
Installing aftermarket fairing-mounted mirrors on a sportbike is usually straightforward once the correct mirror base or adapter has been confirmed for the motorcycle.
The key is to make sure the mirror base sits correctly against the fairing or mounting surface, the mounting holes align properly, and the hardware is tightened without placing unnecessary stress on the fairing.
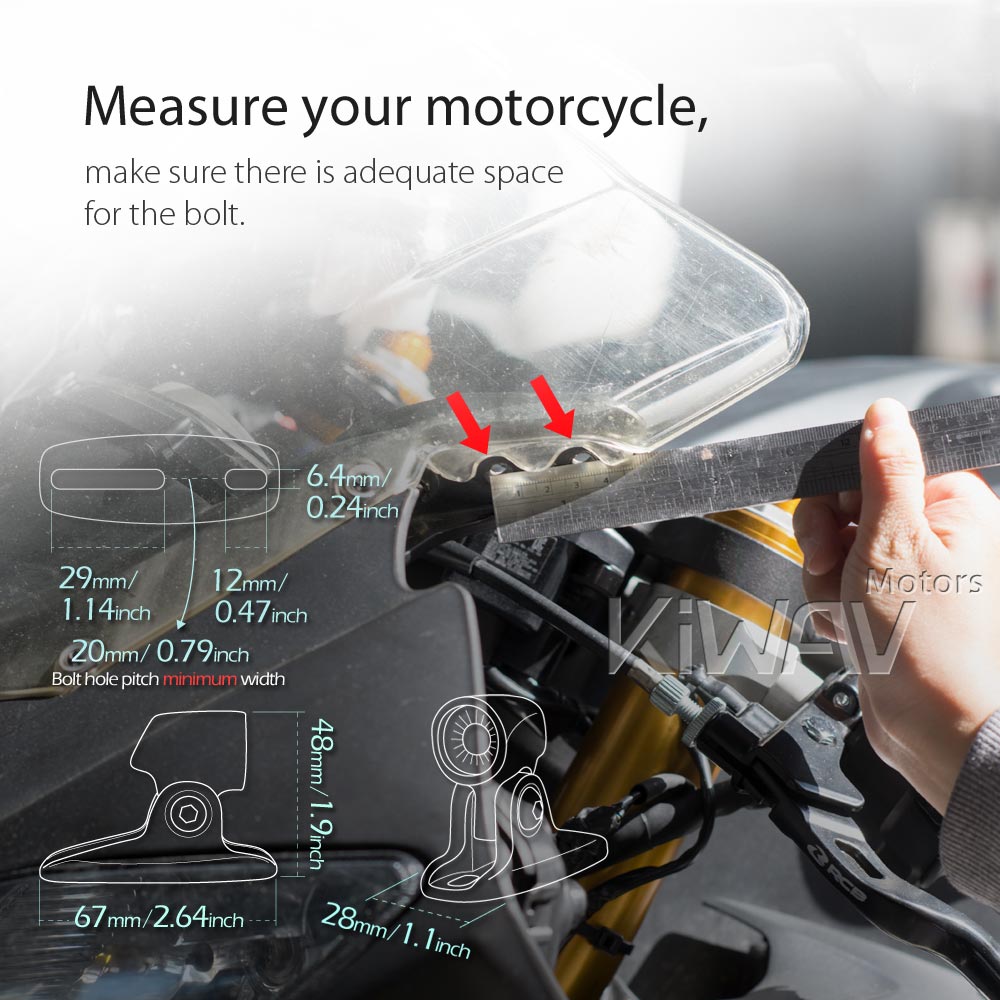
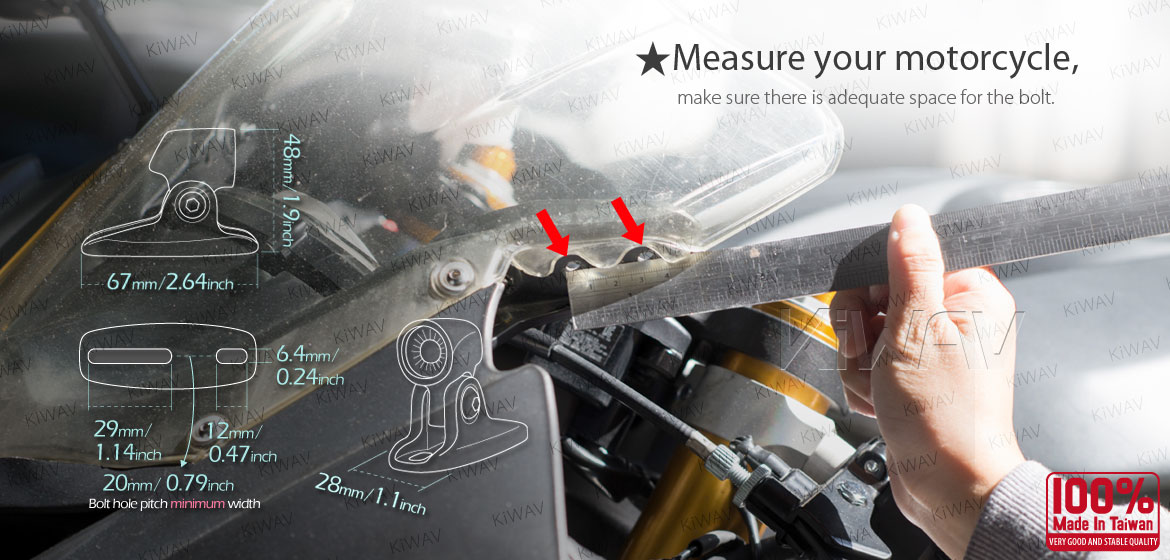
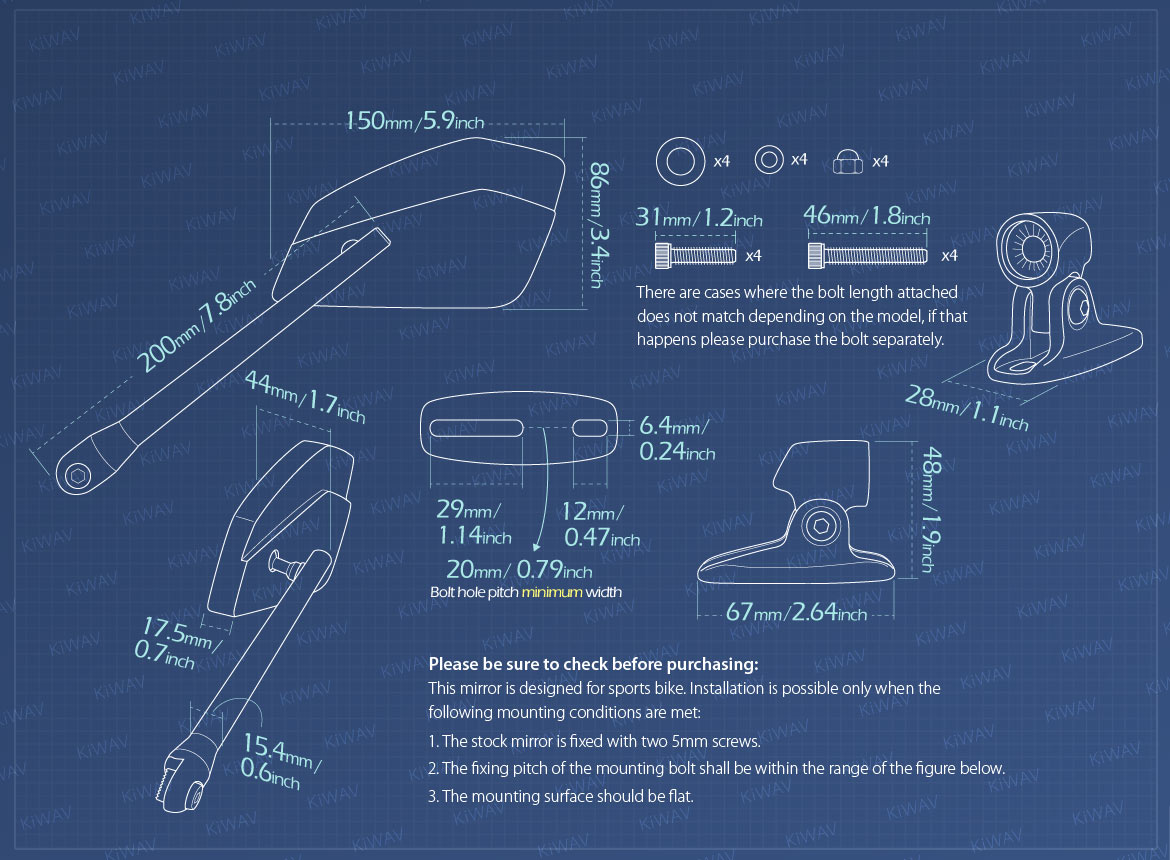
If you have not yet confirmed the mirror mounting dimensions for your motorcycle, check the fitment before beginning the installation.
Quick Answer: How to Install Fairing-Mounted Sportbike Mirrors
Remove the original mirrors, compare the original mounting arrangement with the replacement mirrors, position the correct mirror base or adapter over the mounting holes, install the mounting hardware loosely, check the mirror position and clearance, and then tighten the hardware evenly.
Do not force mounting bolts into holes that do not align correctly. If the bolt spacing or mounting surface does not match, verify the fitment before continuing.
Before You Start
Before removing or installing the mirrors, check:
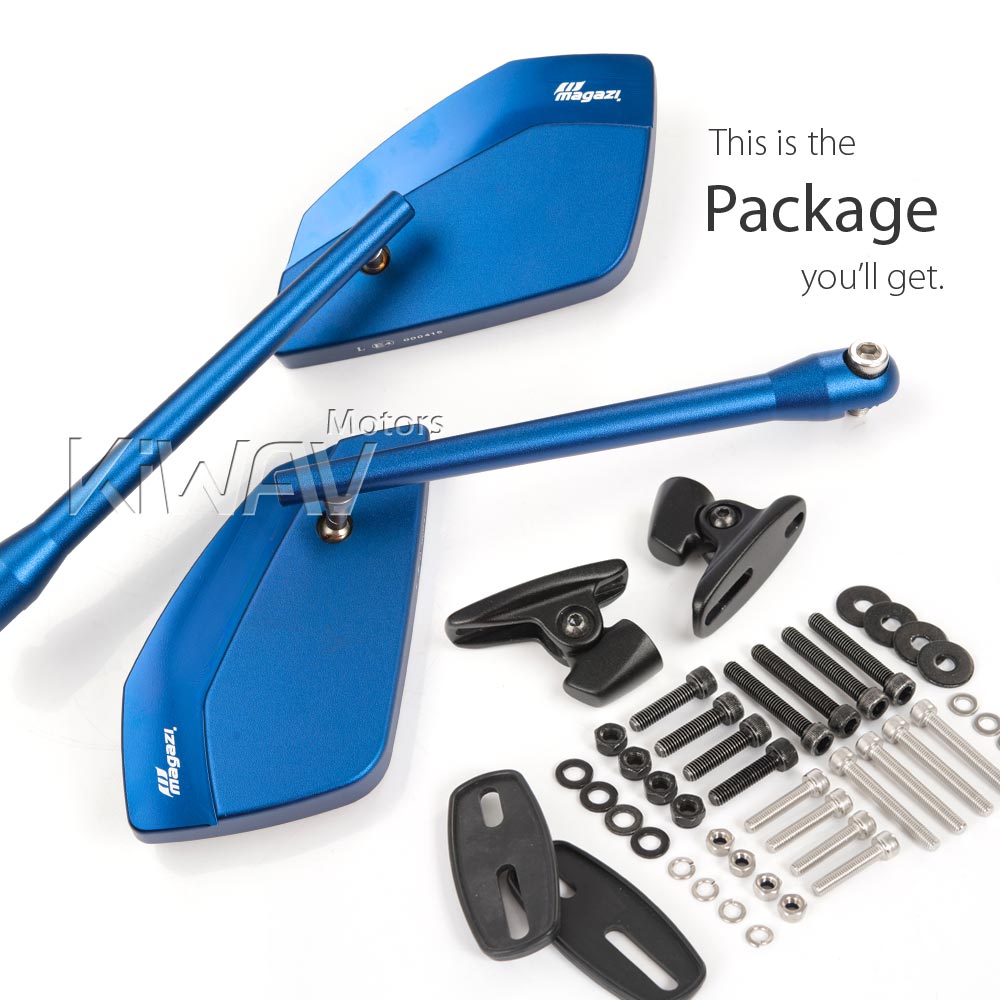
- Mounting-hole spacing — confirm that the replacement mirror or adapter matches the motorcycle's mounting points.
- Mirror base shape — the base or adapter should sit correctly against the mounting area.
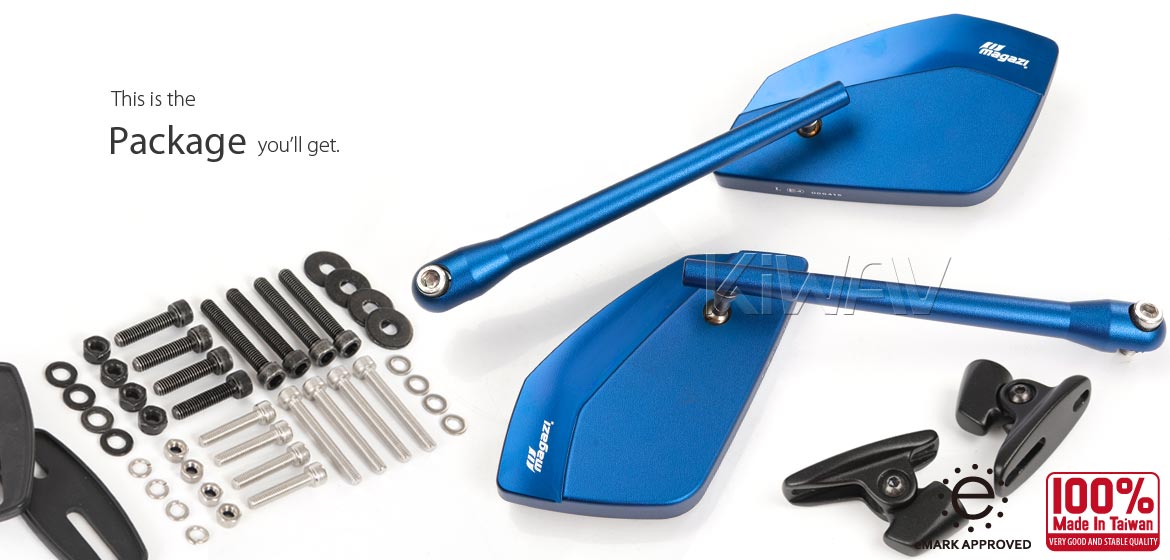
- Mounting hardware — confirm the correct bolt diameter, length, washers, nuts, and other required hardware.
- Left and right sides — identify the correct mirror and hardware for each side before installation.
- Clearance — check the windshield, fairing, controls, and steering area for possible interference.
How to Install Fairing-Mounted Sportbike Mirrors
1. Remove the Original Mirrors
Support the original mirror while loosening its mounting bolts or nuts. Depending on the motorcycle, access to the mounting hardware may be from underneath or behind the fairing.
Keep any original washers, rubber pads, spacers, nuts, or other hardware until the new mirrors have been successfully installed. Some applications may reuse part of the original mounting hardware.
2. Compare the Original and Replacement Mounting Points
Before tightening anything, compare the mounting-hole positions and the contact area of the replacement mirror base or adapter with the original mounting location.
The mounting hardware should align naturally. If the holes do not line up correctly, do not pull the parts into alignment by tightening the bolts.
3. Position the Mirror or Adapter
Place the mirror base or the required adapter onto the motorcycle's mounting area. Make sure it sits securely and does not create unnecessary pressure on an unsupported section of the fairing.
If the mirror uses a separate adapter, install the adapter in the correct orientation before attaching the mirror.
4. Install the Mounting Hardware Loosely
Start all mounting bolts or nuts by hand before fully tightening any one fastener. This helps confirm that the hardware is correctly aligned and reduces the risk of cross-threading or pulling the mirror base out of position.
5. Check Mirror Position and Clearance
Before final tightening, check that the mirror is positioned correctly and that the mirror stem or housing does not interfere with the windshield, fairing, controls, or other components.
Turn the handlebar fully left and right where applicable and confirm adequate clearance.
6. Tighten the Mounting Hardware Evenly
Once the mirror and hardware are correctly positioned, tighten the fasteners evenly and securely.
Avoid excessive tightening. Fairings and mounting surfaces can be damaged if the hardware is used to force an incorrect fit or is tightened beyond what the mounting arrangement requires.
7. Adjust the Mirrors and Perform a Final Check
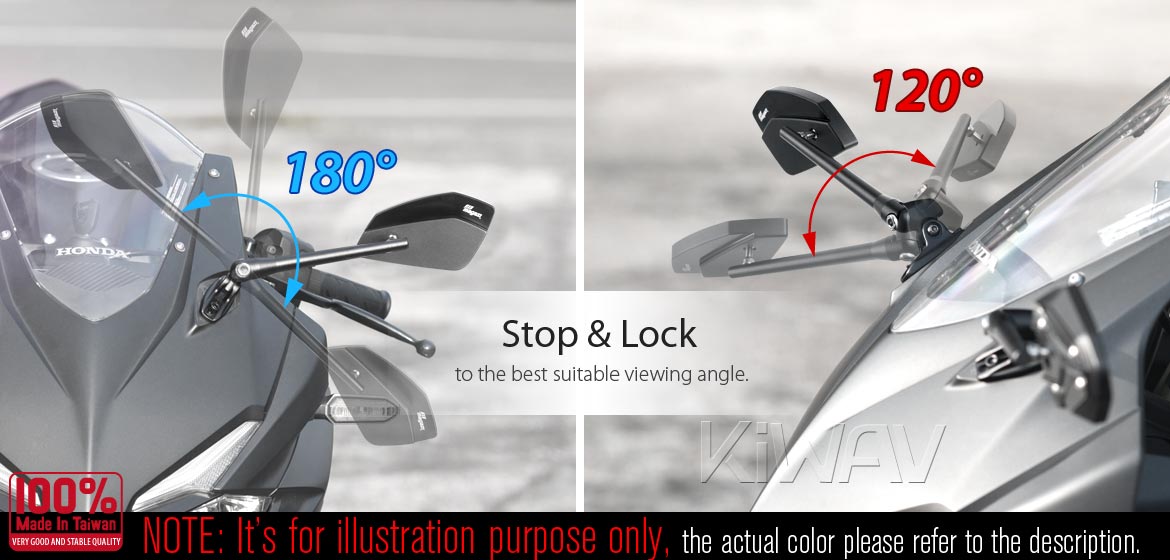
Sit on the motorcycle in your normal riding position and adjust both mirrors for a clear rearward view.
Before riding, confirm that both mirrors are secure and that the steering, controls, windshield, and fairing have sufficient clearance throughout their normal range of movement.
Sportbike Mirror Installation Video
This KiWAV video demonstrates the installation process for a typical aftermarket fairing-mounted sportbike mirror setup:
Common Sportbike Mirror Installation Mistakes
- Forcing mismatched mounting holes: If the bolt spacing does not align naturally, recheck the mirror or adapter fitment.
- Discarding the original hardware too early: Some motorcycles may require original washers, rubber pads, spacers, or nuts.
- Fully tightening one bolt first: Start all fasteners before final tightening so the base can seat correctly.
- Over-tightening against the fairing: Excessive force can damage the mounting surface or surrounding bodywork.
- Skipping the clearance check: Confirm clearance from the windshield, fairing, controls, and steering before riding.
Still Checking Sportbike Mirror Fitment?
Installation should begin only after the mirror base, mounting-hole spacing, and required hardware have been confirmed for the motorcycle.
For an overview of the different factors that determine motorcycle mirror compatibility, see our Motorcycle Mirror Fitment Guide.
For fairing-mounted sportbike mirrors specifically, see our Fairing-Mounted Sportbike Mirror Fitment Guide to learn how to check the mounting dimensions and adapter fit.
If you prefer to check by motorcycle model and year, use our Sportbike Motorcycle Mirror Fitment & Compatibility Chart.
Once fitment is confirmed, browse our fairing-mounted sportbike mirrors.