

How to install a motorcycle USB charger or any other electronic devices

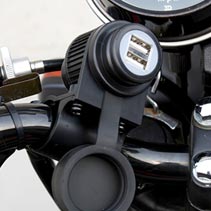
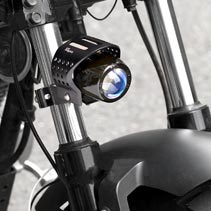
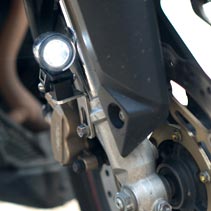
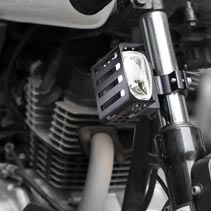
More and more electrical devices are made available for motorcycles, such as USB charger, DVR, GPS, radar detector, heated grips & seats, and auxiliary lights, etc.
It is easy to add only one device. Connect the positive wire to a 12V positive wire from the ignition switch, lighting circuit, etc. then connect the negative wire to a ground connection, and find an appropriate mounting point for the device. Bang, jobs all done.
However, it's a total different story when you install more than 2 devices. It might turn out to be a disaster to add unknown loads to the whole current supply of the motorcycle with the way mentioned above.
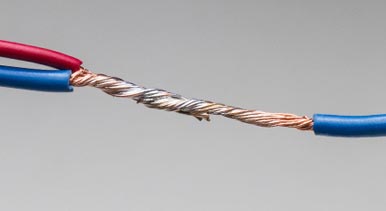
Wire splicing needs to be done carefully and properly too. Most people use crimp-type connectors for convenience. We highly recommend to solder connections and cover them with heat shrink tubing for greater reliability.
Hint: Carefully strip wires without cutting any strands.
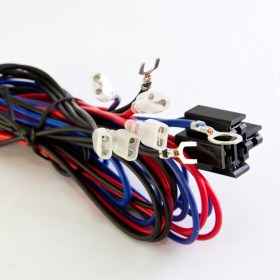
KiWAV WK-003 Wiring Kits
KIWAV WK-003 wiring kits are being introduced to build a safer and more dependable circuit for all the new devices and accessories on your motorcycle.
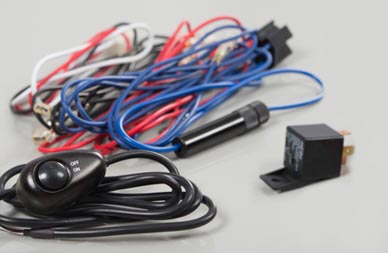
- The kits included
- A 12V 40A DC heavy-duty relay
- Safety cartridge fuse 15A
- 18 AWG wiring set
- A LED switch
Determine how much current the device draws. You need amps to determine wiring and fuse sizes. Some items, such as auxiliary fog lights, are rated in watts. Watts/volts = amps. For example, a 60-watt auxiliary light draws about five amps (60/12 = 5).
Make sure you have enough capacity to handle that initial surge, which can be several times the running current.
With the American Wire Gauge (AWG) system, the lower the number, the heavier the wire, this 18 AWG flexible insulated multi-strand copper wiring set is perfectly designed for any automotive use.
Using a wire that's too small for the load is dangerous and must be avoided.
All electrical circuits should be protected from short circuits by either fuse. This kit included a Fuse holder and a 15 amps cartridge fuse.
A switch with a built-in LED will indicate when the device is power on. And this switch comes with double-sided tape to apply to any place you want it to be.
Wiring Installation Instruction
*To prevent accidental vehicle start-up, which could cause serious injury, disconnect battery cables (negative (-) cable first) before proceeding.
- The wiring diagram may vary by different scenario
- A. Adding the switch from WK-003 wiring kit to your motorcycleIf connecting with only 1 device, see diagram A-1
If connecting with 2 or more devices, see diagram A-2 - B. Using only your existing switch circuitIf connecting with only 1 device, see diagram B-1
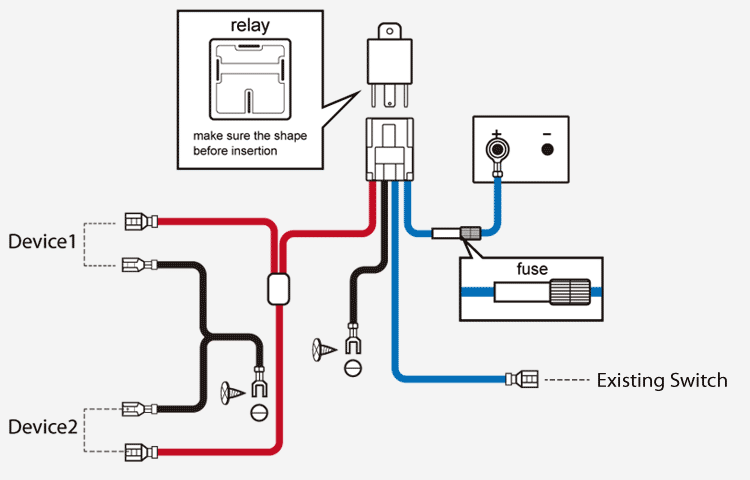
If connecting with 2 or more devices, see diagram B-2
Diagram A-1
You'll need these parts from WK003, and following the diagram graph.
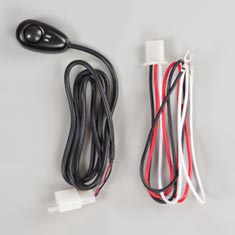
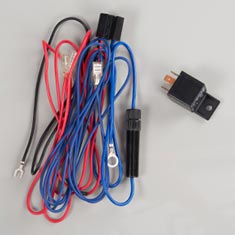
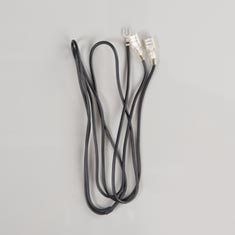
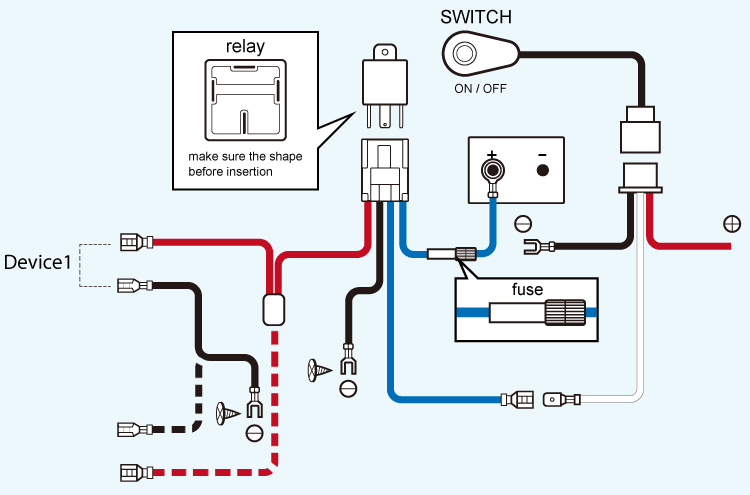
Diagram A-2
You'll need these parts from WK003, and following the diagram graph.
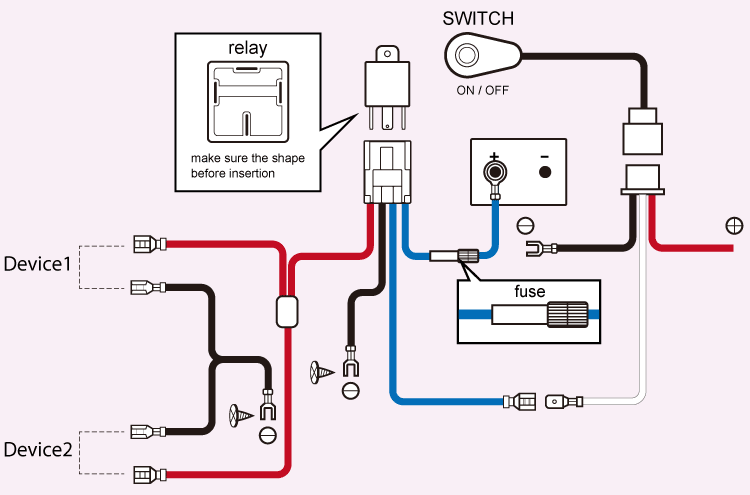
Diagram B-1
You'll need these parts from WK003, and following the diagram graph.

Diagram B-2
You'll need these parts from WK003, and following the diagram graph.


Comments