


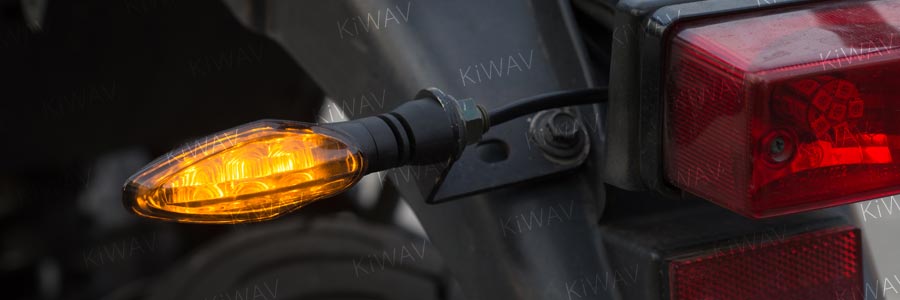
If your motorcycle turn signal or light does not work correctly, one of the first things worth checking is the ground connection.
A loose, corroded, painted-over, or otherwise poor ground can cause a light to stop working completely or operate intermittently. Ground problems are often inexpensive to fix, but finding the faulty connection can require some careful troubleshooting.
Quick answer: Check that the light's ground wire has a clean, secure electrical connection to the correct ground point. Do not assume that a wire touching a metal part automatically has a good ground.
- Details
- Written by: KiWAV
One critical installation tip that can help prevent damage to the wiring inside your LED motorcycle mirrors.
Example: KiWAV Lucifer Dual-LED Mirrors for Motorcycles
Quick answer: Install and position the mirror on the motorcycle before securing or taping the electrical wire. The wire should remain free while the mirror stem is being rotated into its final position.
If the wire is fixed in place first, rotating the mirror during installation can twist the wiring inside the mirror repeatedly and eventually damage it.
- Details
- Written by: KiWAV
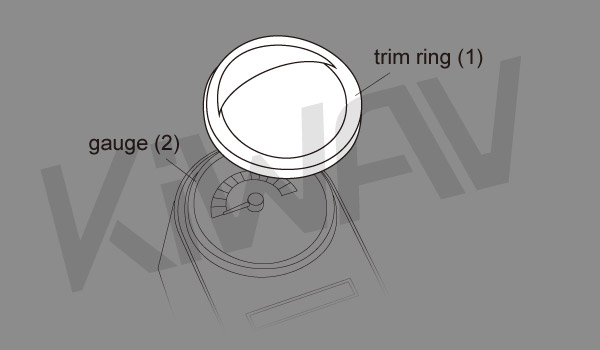
- Clean and dry surface of gauge(2).
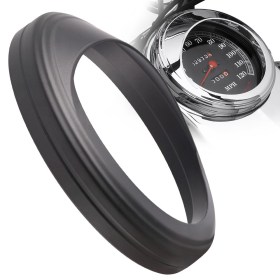
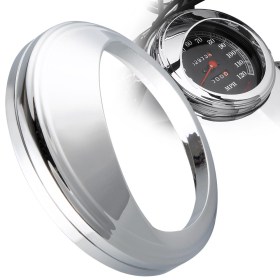
- Apply some double sided tape (not included) to trim ring(1).
- Before peeling off adhesive back, run and test fit by trim ring(1) onto gauge(2).
- Details
- Written by: KiWAV
This guide covers the basic installation of KiWAV stem-mounted mirrors on Harley-Davidson motorcycles. Some LED mirror models include additional wiring hardware; those steps apply only when your mirror has integrated LED lighting.
Quick answer: Remove the original mirror, retain the original internal tooth lock washer, install the new mirror stem through the hand control assembly, add the required washers and mounting hardware, then tighten to 8–12 ft-lb (10.8–16.3 Nm).
- Details
- Written by: KiWAV
- Remove the old mirror assemblies from the bike.
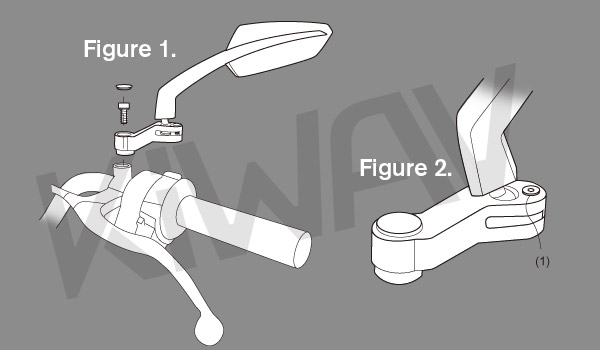
- Install new mirror to hand control assembly (as Figure 1) with M6 allen key.
- Adjust the mirror for proper field of vision and tighten the part (1) (in Figure 2) with M2.5 allen key.
- Check mirror adjustment and reposition if necessary.
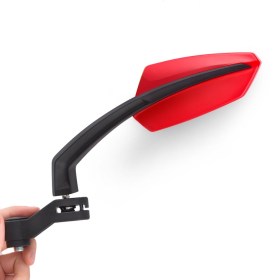
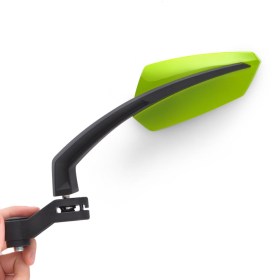
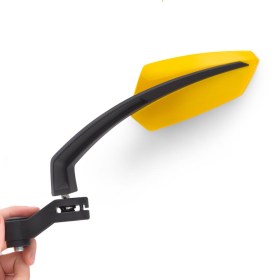
 Choose from 12 colors >>
- Details
- Written by: KiWAV
Installing aftermarket fairing-mounted mirrors on a sportbike is usually straightforward once the correct mirror base or adapter has been confirmed for the motorcycle.
The key is to make sure the mirror base sits correctly against the fairing or mounting surface, the mounting holes align properly, and the hardware is tightened without placing unnecessary stress on the fairing.
If you have not yet confirmed the mirror mounting dimensions for your motorcycle, check the fitment before beginning the installation.
- Details
- Written by: KiWAV
This guide covers the installation of KiWAV Axe series mirrors on Harley-Davidson motorcycles.
Quick answer: Remove the original mirror, retain the original internal tooth lock washer, install the Axe mirror stem through the hand control assembly, add the flat washers, and tighten the mounting hardware to 8–12 ft-lb (10.8–16.3 Nm).
Because Axe LED mirrors route wiring through the mirror stem, make sure the wire is correctly positioned so it cannot be pinched or crushed by the mounting hardware.
- Details
- Written by: KiWAV
Page 2 of 3